Step 1: Create an SRFax Account
- Visit www.srfax.com and create an account if you don’t already have one.
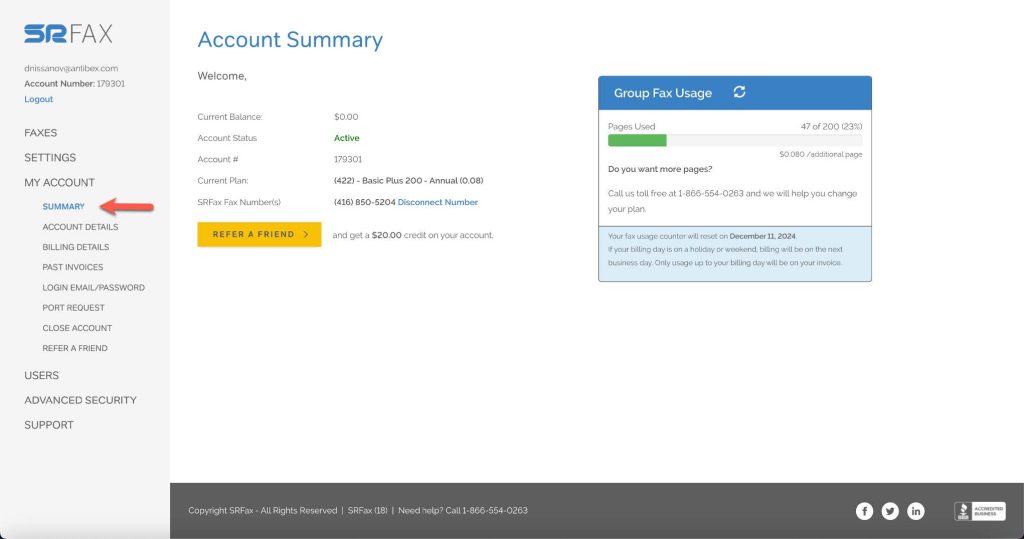
- After logging in, navigate to My Account > Summary to access your account details.
Step 2: Configure SRFax in WalnutEMR
- In a new browser tab, log in to your WalnutEMR account.
- Go to the Branch App section, then select eAccounts.
- Under Fax Account, click Setup Fax Account to open the setup window.
- Configure your SRFax settings with the following details:
- Fax Type: Select SRFax.
- Account Number: Enter the account number associated with your SRFax account.
- Password: Enter the password used to log in to your SRFax account.
- Fax Caller ID: Enter your SRFax fax number.
 Important: Remove any special characters (such as parentheses, dashes, or periods) if copying and pasting the number.
- SRFax Username: Enter the same username used to log in to your SRFax account.
- To receive email notifications for successful or failed fax transmissions, check the notification box and enter a valid email address.
- Once all fields are complete, click Save to finalize the setup.

Additional Resources
For a step-by-step visual guide, refer to our SRFax Setup Tutorial.