This guide explains how to connect existing staff members to the Calendar App so their schedules appear in the branch calendar and can be booked.
Step 1: Create Calendar
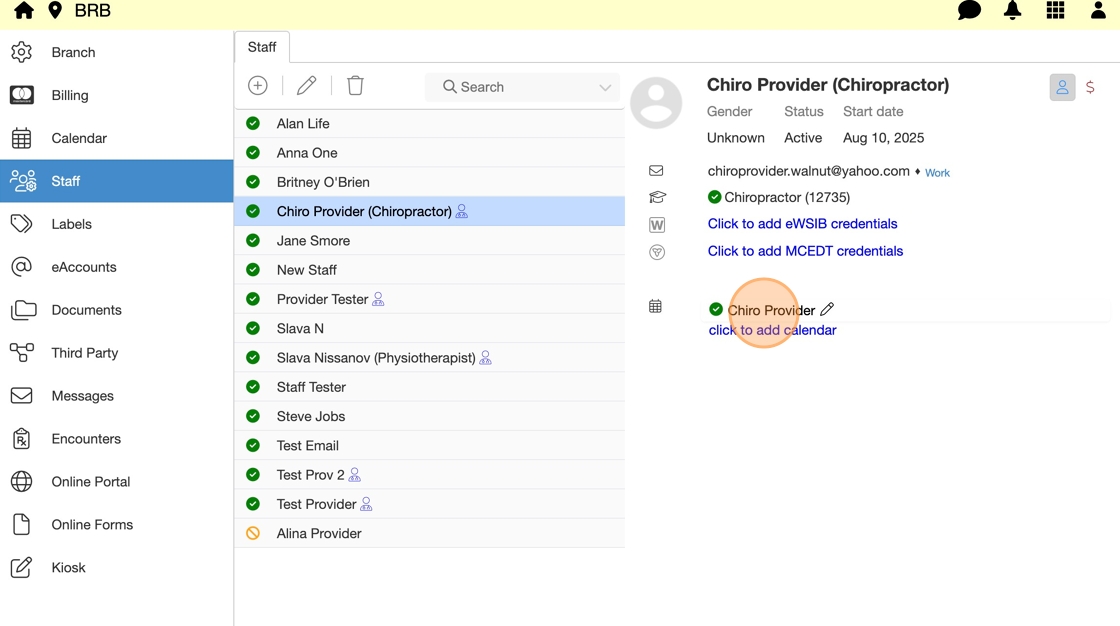
1. Go to Staff Directory and select a Staff Member.

2. Click to add calendar.

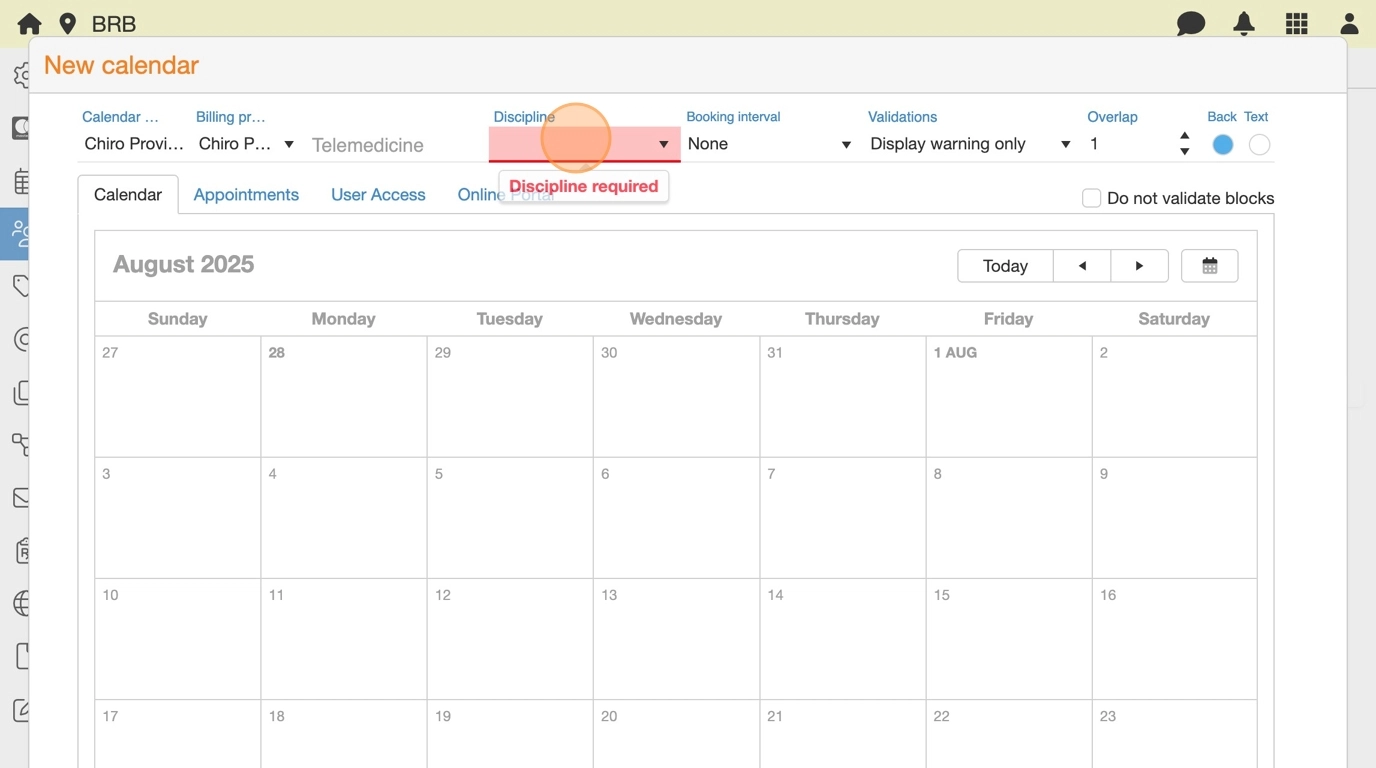
3. Set required fields (pink) and hit save.
Step 2: Configure Calendar Settings
4. Reopen new Calendar.
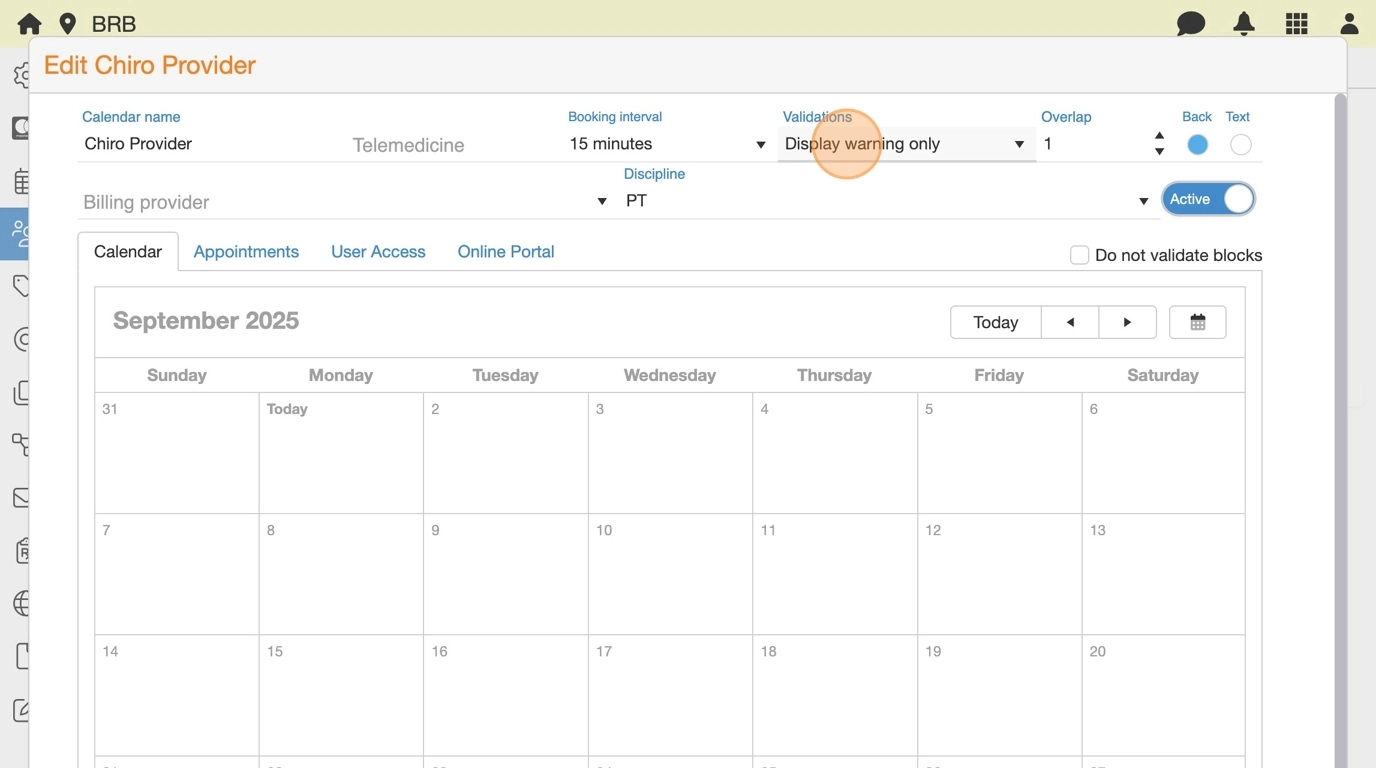
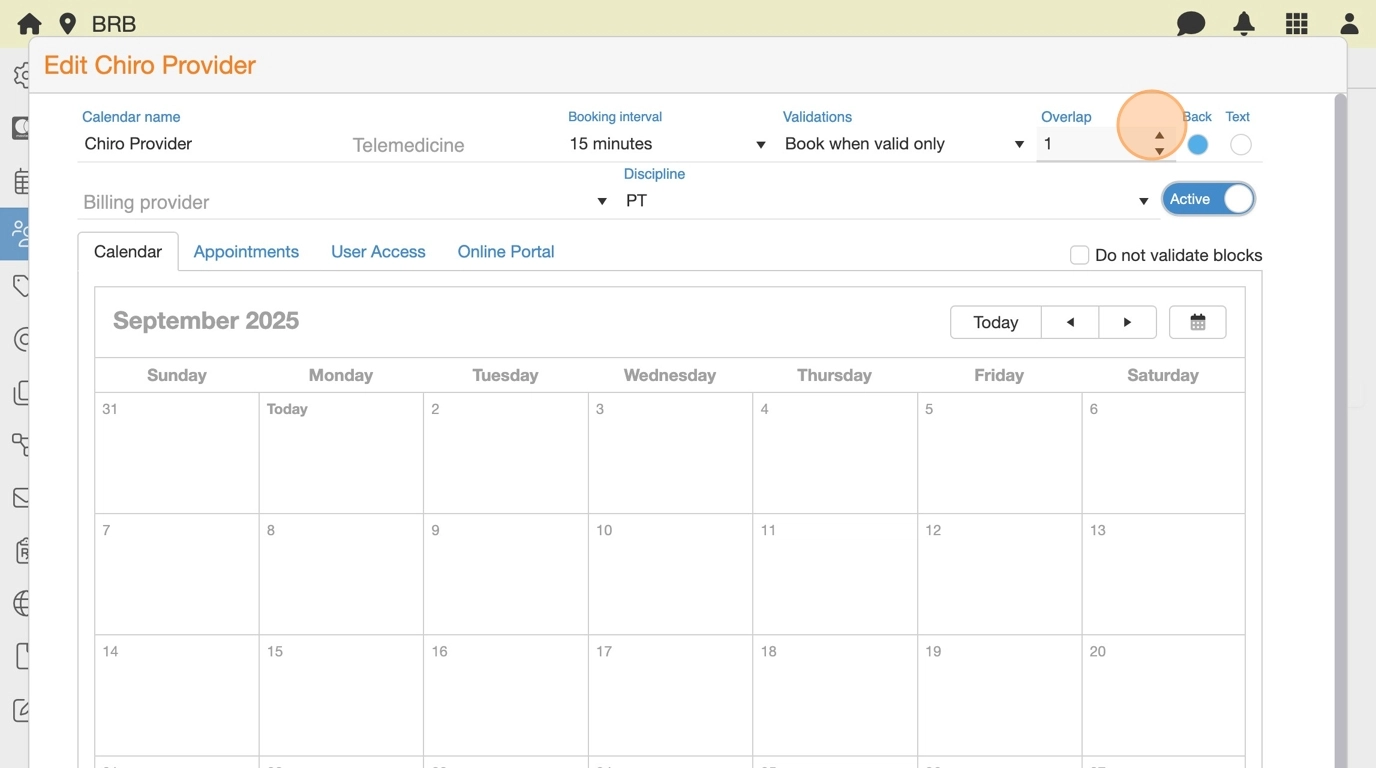
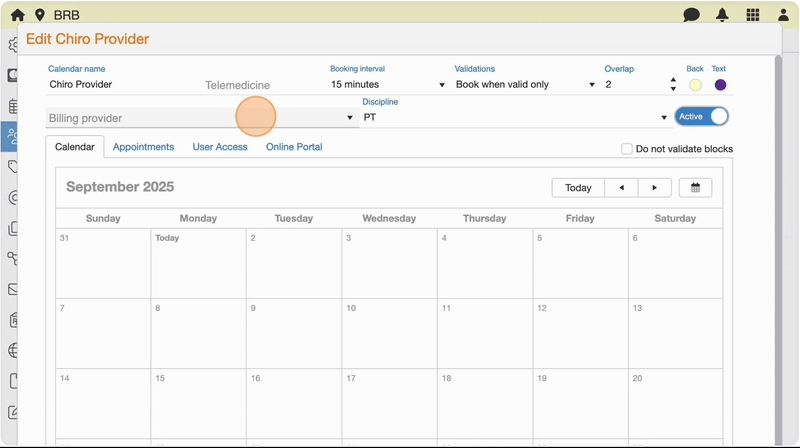
5. Customize Calendar appearance:
- Calendar Name – displayed name on schedule.
- Booking Interval – sets a common unit which makes up larger appointments.
- Validations – restricts booking to scheduled hours or allows exceptions.
- Maximum Overlap – limits number of simultaneous appointments.
- Colours – customizes booked appointment background and text colours.
- Billing Provider– connects calendar to a default Provider account for billing.
6. Set Booking intervals.
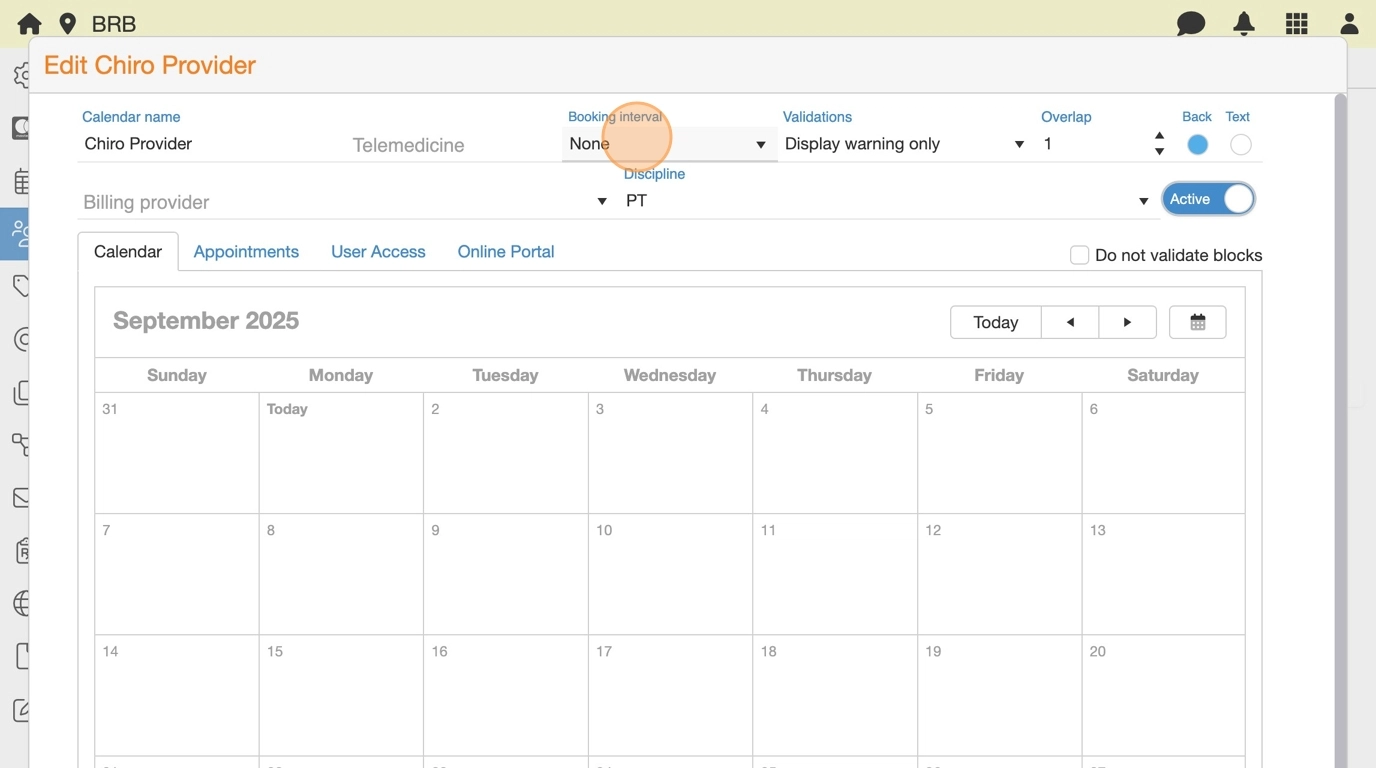
7. Choose to Display warning only or Book when valid only.
8. Set maximum Overlap.
9. Customize appointment colours.

10. Set Billing provider.
Step 3: Add Staff’s Availability
11. Select Staff’s start date.

12. Click I’m available to open schedule.

13. Set Shift hours and add breaks if needed.
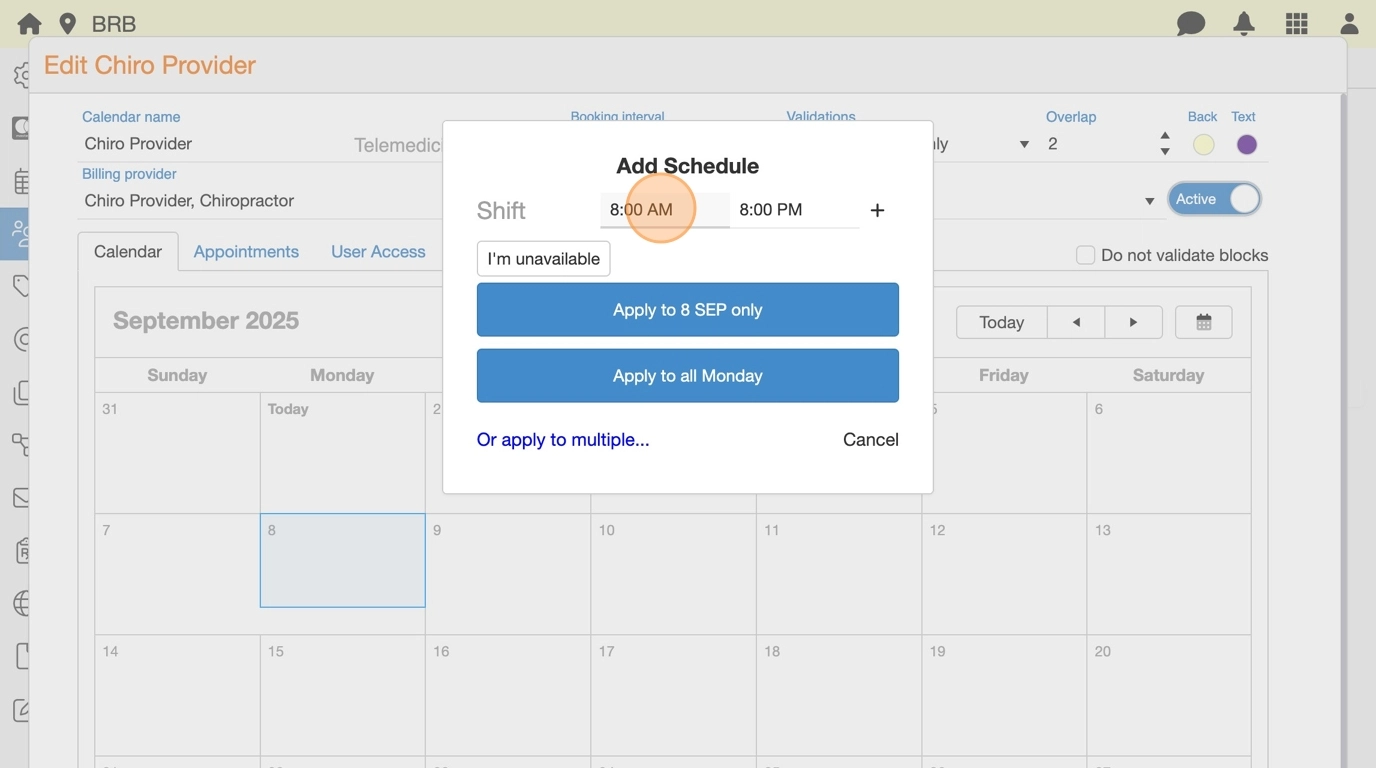
14. Choose how to apply availability:
- Single date
- All of a specific day (e.g., all Mondays)
- Multiple/repeating dates (best for ongoing schedules).
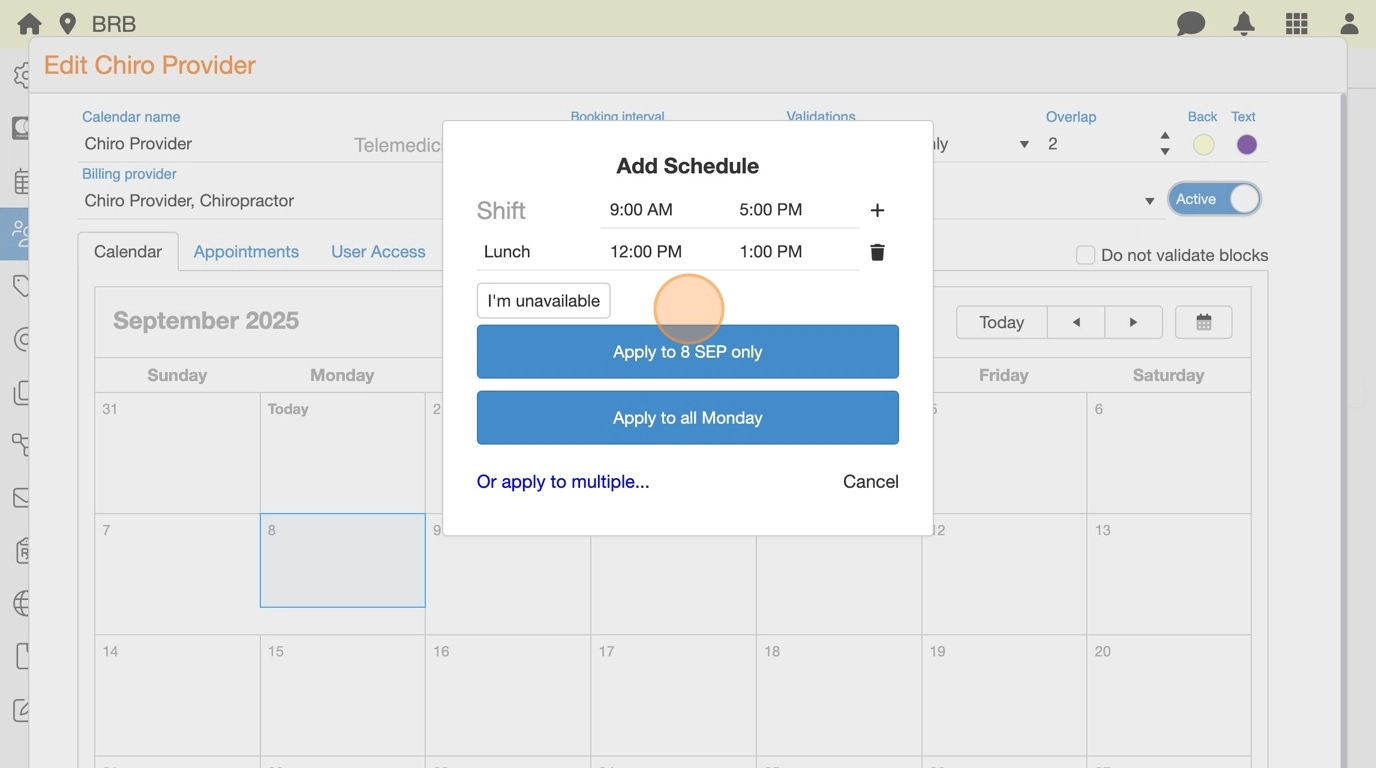
15. Click Or apply to multiple…
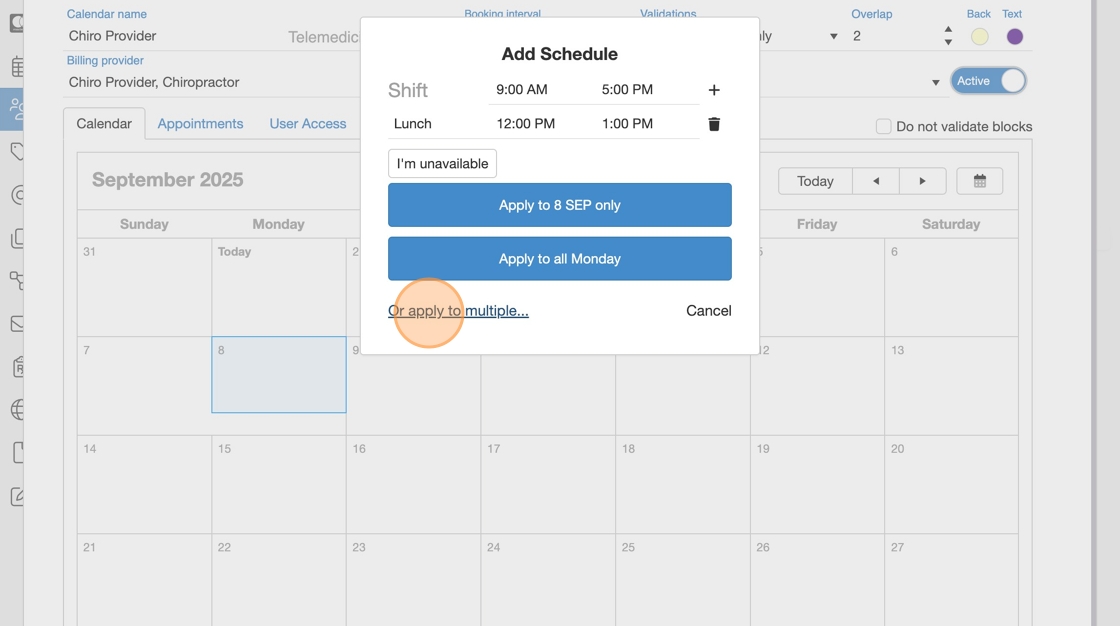
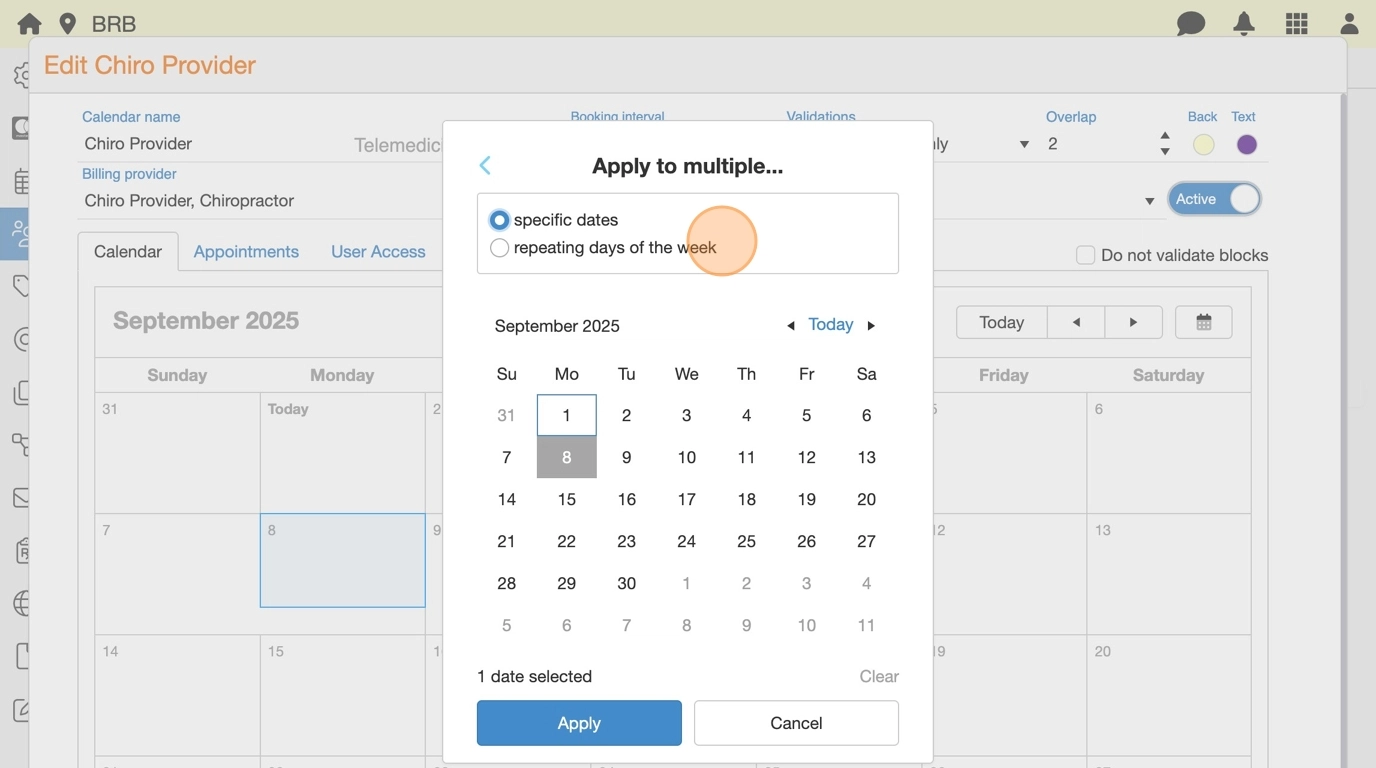
16. Choose specific dates and hit Apply…

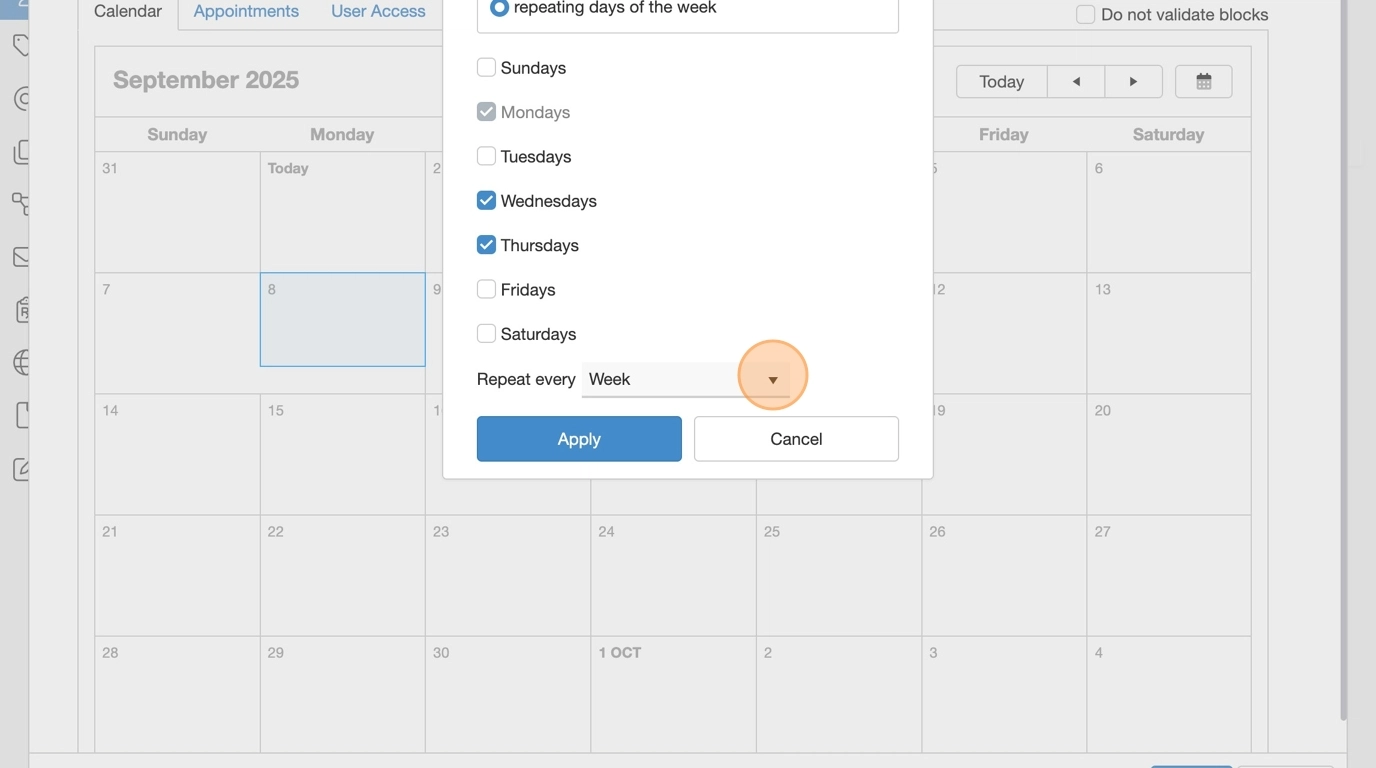
17. Or use repeating days of the week and select days to repeat.
18. Confirm schedule repeat frequency and hit Apply.
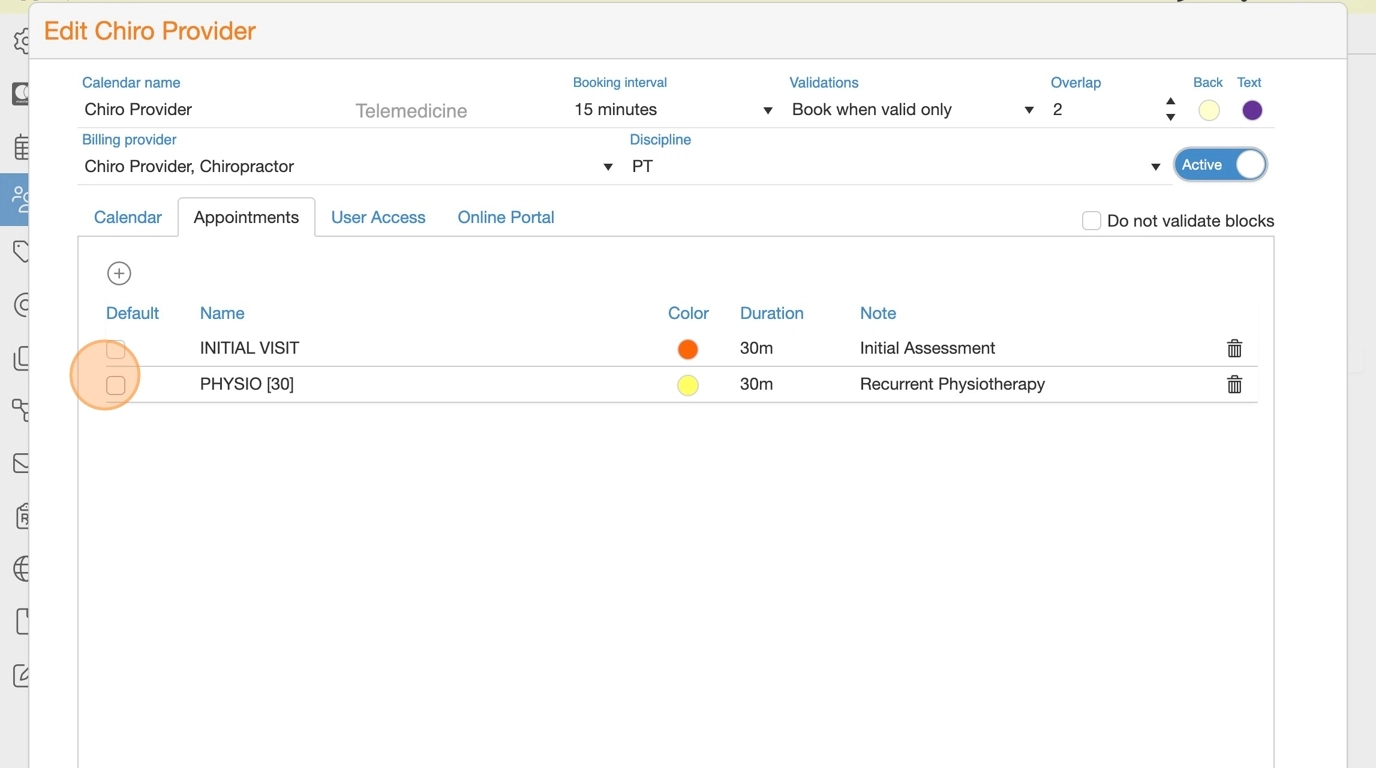
Step 4: Assign Appointments
19. Go to Appointments tab.

20. Click (+) to select appointment types for this Staff Member, then click Apply.
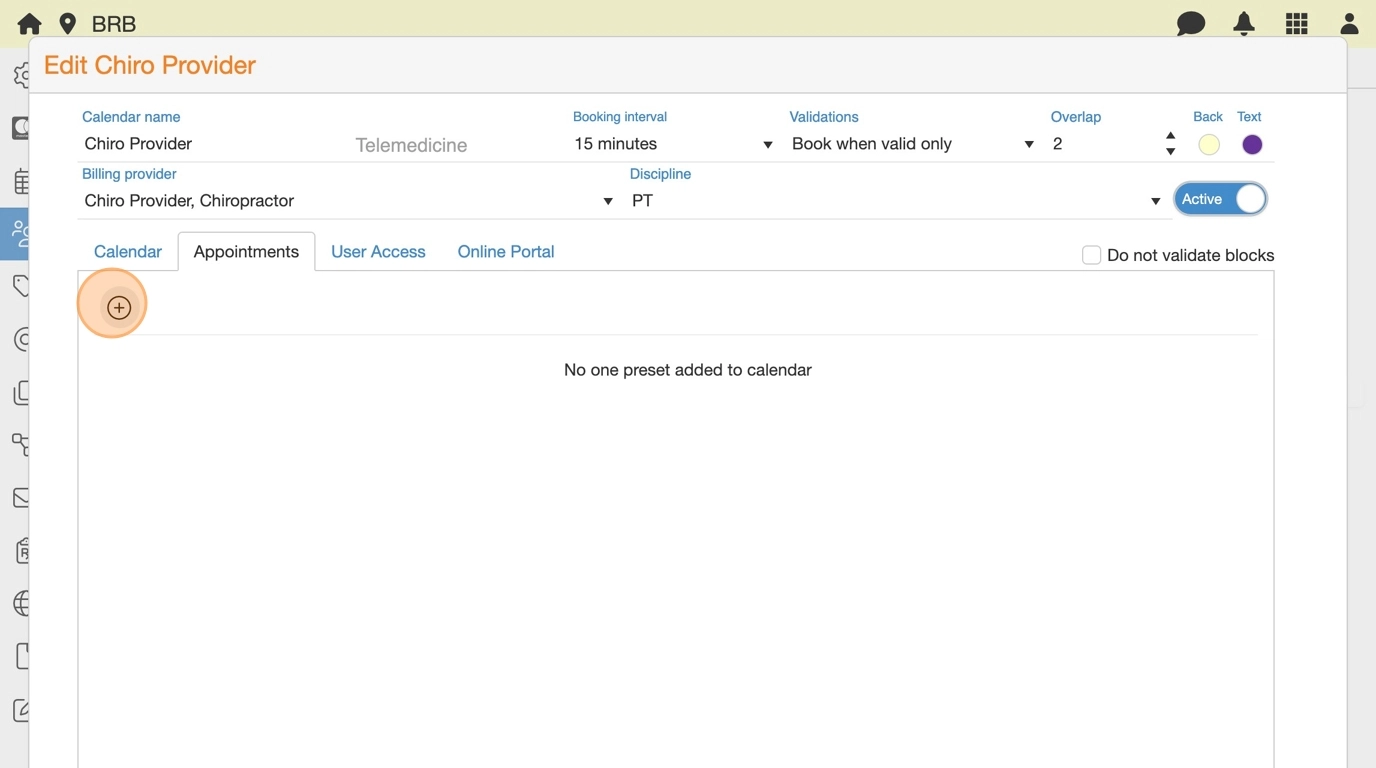
21. Set Default Booking Appointment (most common type).
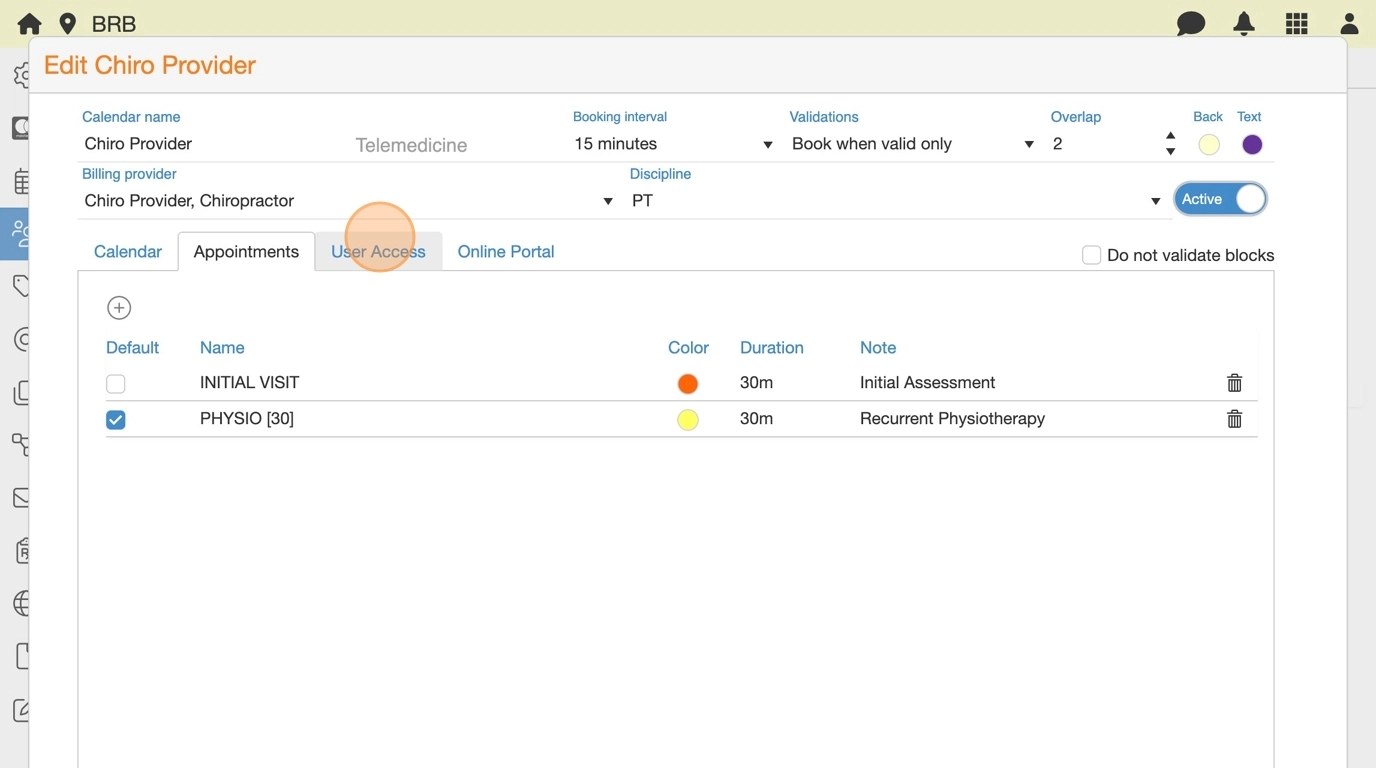
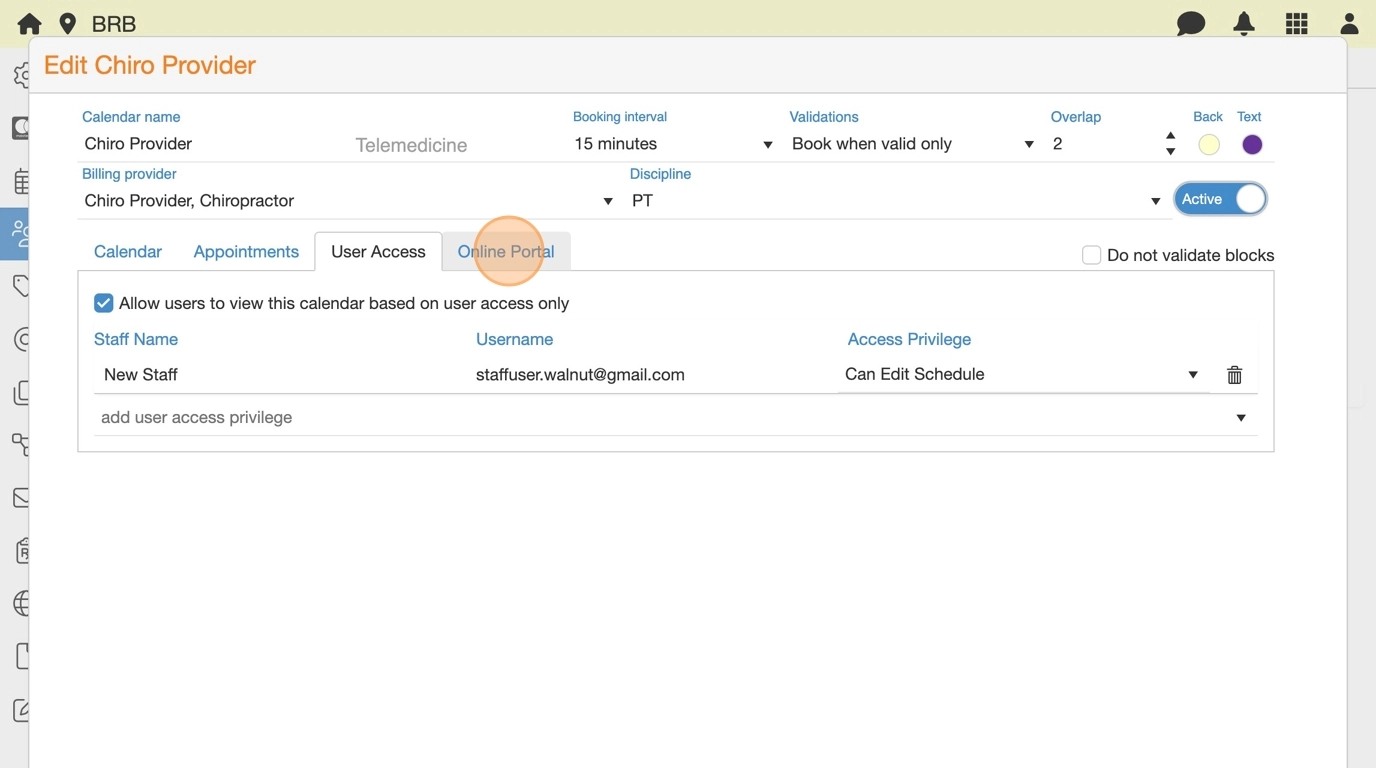
Step 5: Manage User Access
22. Go to User Access tab and select Allow users to view this calendar based on user access only.
23. Select a user and assign Access Privilege:
- Free/Busy only
- View Appointments
- Create Appointments
- Edit Schedule

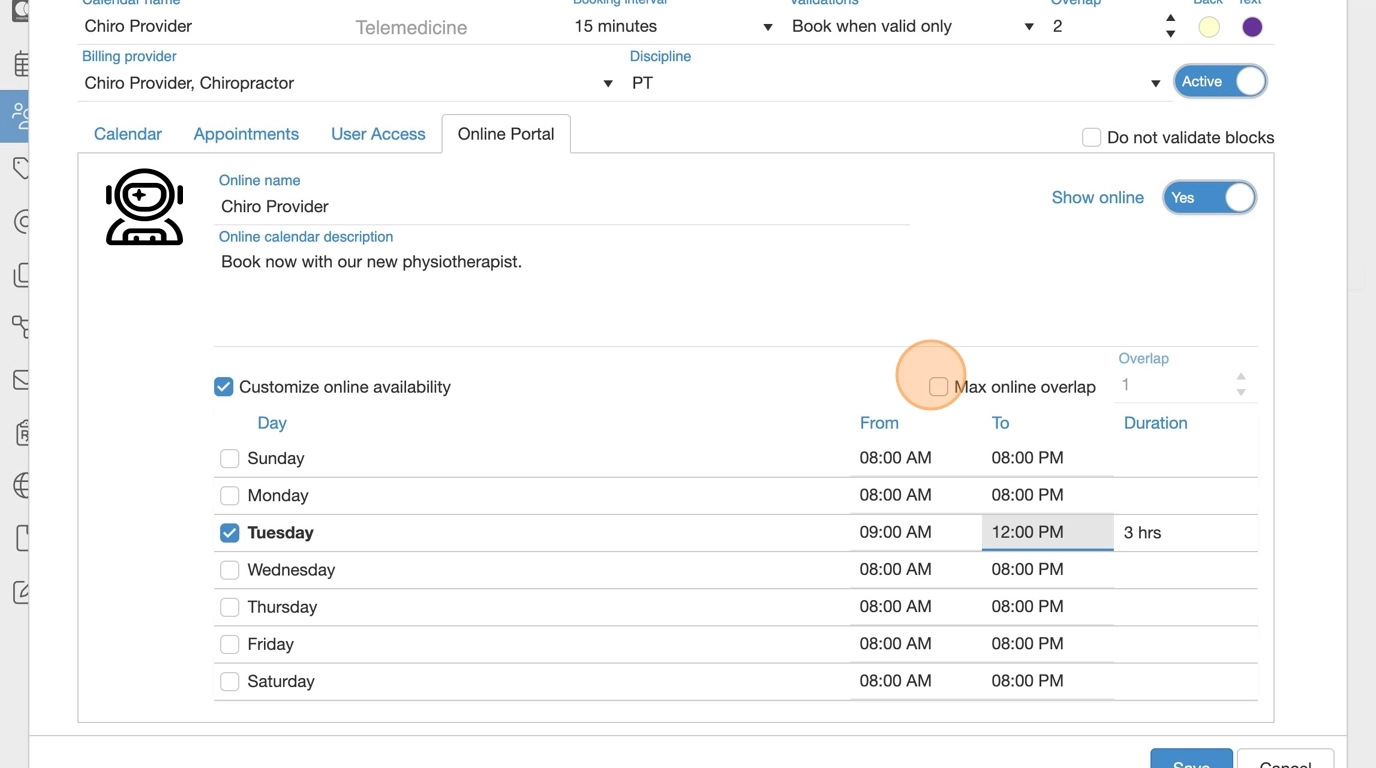
Step 6: Connect to Online Booking (if Enabled)
24. Go to Online Portal tab and toggle Show online to Yes.
25. Customize availability and description.
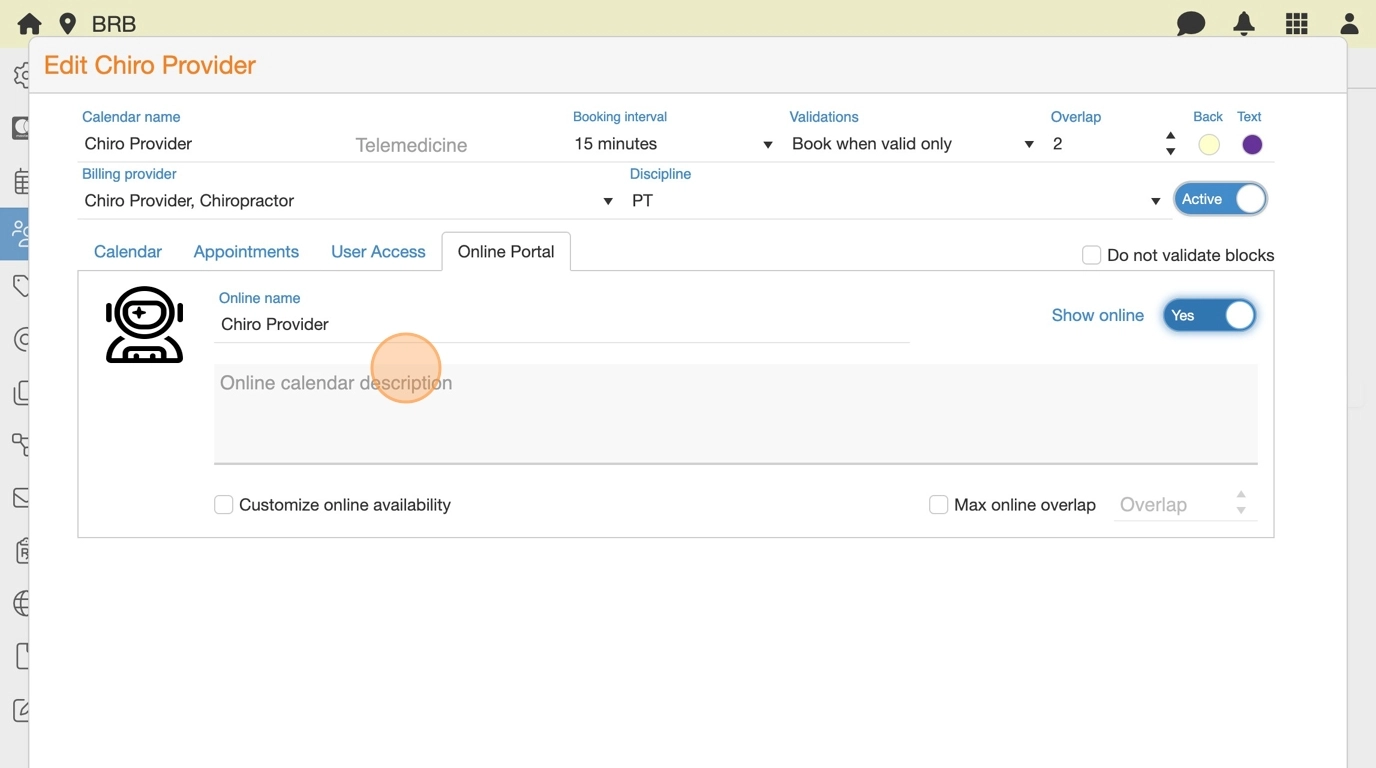
26. Set Max online overlap and click Save.